


To be honest, this craft cart has been through it!
I got this around 10 years ago when I was still in college or right after I graduated (I graduated in 2015 😬). I initially used it to organize crafts. Then it became a home organizer where I stored paperwork and other junk (read: an absolute mess). I let my cousin borrow it for about a year to organize her craft supplies, and when it came back to me I used it during my short stint as a teacher. When I brought it back home, I used it to organize some busy boxes for my son which you can see the remnants of here. As the need for busy boxes faded, my craft supplies started creeping back in. They’ll do that y’know. You have to watch craft supplies. They’re sneaky!
I’m in the midst of doing a whole house declutter, and today I wanted to talk about decluttering craft supplies. As a creative and crafty person it can feel really hard to let go of ideas and expectations of what we thought our craft would look like especially if we’ve put some money towards it. I’ve learned though that this can weigh down the creative process and fuel procrastination instead of taking action. I had a lot of “what ifs” roll around in my mind as I sorted, trashed, and reorganized my cart. And you will too, but if we’re going to get back to doing things we love – really love – then we have to let go of the what ifs, the expectations, and the some days.
Another reason behind decluttering is that I don’t have a dedicated craft room. We’re fortunate enough to have a large dining room where I can accumulate my crafts in a nice sized corner, but that also means it gets out of control quickly.

I decided it was finally time to whip the trusty ol’ cart back into shape. I also found another cart out in our shop that I decided to use for the crafts I reach for daily – specifically my paints.
Alright, enough talking, let’s get decluttering!
Step 1: Lay everything out

The first step in organizing your craft supplies is to assess the damage. Pull everything out of the cart. Yes, everything – the coloring books, the scissors and glue, the misplaced cords, and your sons shoes. And take a moment here to giggle to yourself about the shoes. Where they came from, why they ended up in your craft cart – the world will never have answers to those questions – but at least you get a good laugh!
Step 2: Combine like things
Next, put like things together. This will help you determine what outliers you have here that need to find a new home (possibly in the trash). It will also help you see what crafts you already have, what you gravitate to, and again maybe what needs to be let go of so you can have more time to focus on the things you really enjoy.
Step 3: Put everything back

Once you’ve thrown away the trash, decided on what crafts to keep, and put your son’s old shoes in the consignment pile, it’s time to put everything back into a drawer. Here you can see I put my paints, paint brushes, canvases, and watercolor papers in the white cart. Now that the top of my silver cart wasn’t cluttered, I had room to set my washi tape holder, and my favorite craft books on top so they’re easy to find and access when I need the inspiration!
Step 4: Label everything


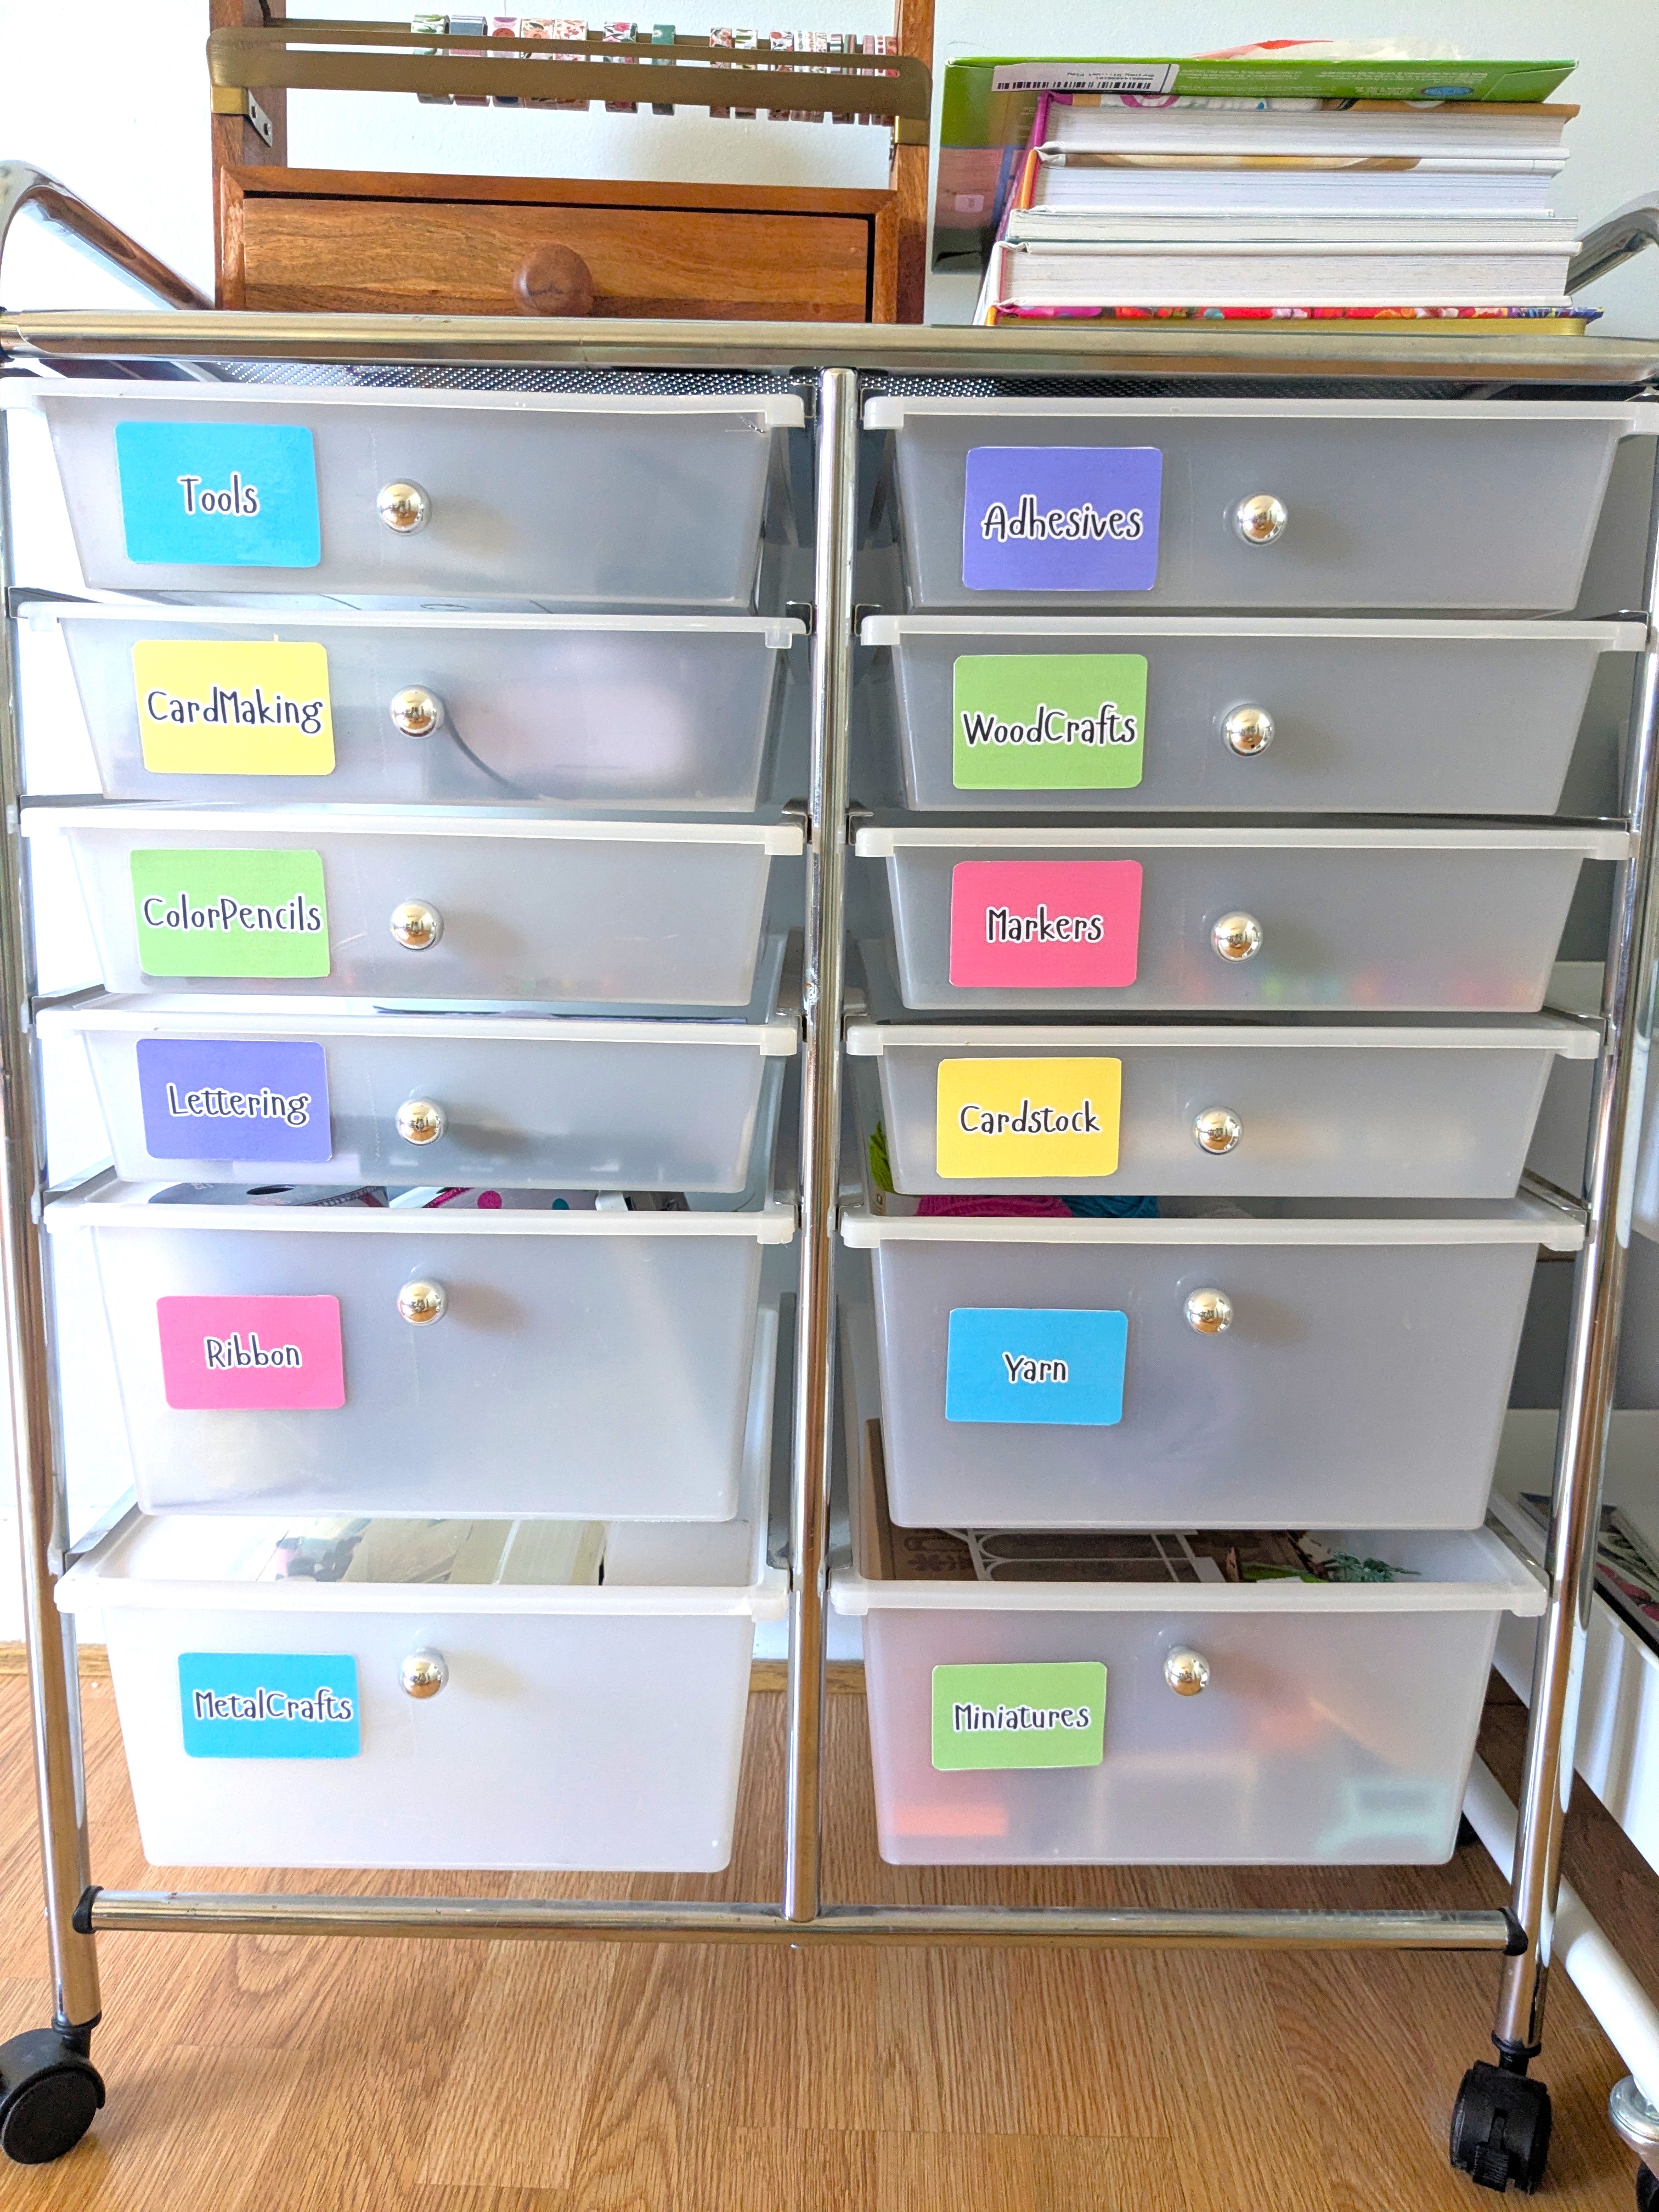
I’m the world’s worst for forgetting where I’ve put something, so in our house labels for this sort of thing is crucial to keep me organized and not opening all 12 drawers before I find what I’m looking for.
Creating these labels is a simple and budget friendly way to organize something without having to get it professionally printed, or if you don’t have a Cricut, or a whole lot of time on your hands!
Once you create your labels in Canva, save the file as PDF Print so you get the best quality colors when you print them out. You can print on any paper. When I created the busy box labels, I just used standard computer paper, and they held up well! I decided this time to use a matte photo card stock since it’s what I had on hand. Having the thicker paper did make it easier to cut out too.

The next step is to cut out your labels. You can use a paper cutter, or scissors which is what I did. Next, you’re going to need packing tape. I bought this packing tape a while back at Walmart, and I feel like it holds up really well! It also gives the labels a shiny finish which I like.

Simply pull a piece of tape that’s just a little wider than your label and attach it to your craft bins. See the finished result below!

What do you think? So much better right!? Let me know in the comments if you tried this out, and what your other favorite craft organization hacks are.
Thanks for crafting with me today! I’d love to see how your project turned out, so share a photo in the comments and tell me your favorite part of the process. What would you like to make next? Until next time, friends!





Leave a Reply