
I had the cutest idea earlier this week after playing with my new set of alcohol markers, and I couldn’t wait to share it with you!

After discovering how beautiful the colors from the alcohol markers turned out on my last shrinky dink project, I decided that I wanted to take the craft a step further and make some jewelry. So, I handed over the markers to my scribble happy 4 year old, and let him go to town on the shrink paper!

The end result is such a cute keepsake craft that I know any mom, grandma, or aunt would LOVE to have from little hands! It’s so easy and the supplies are minimal. Hands down they have become my daily wear earrings because I love them so much! I’m also tucking this idea away and saving it as a possibility for Christmas gifts this year. 🤭
DIY Shrinky Dink Earrings for Mom
| Beginner Friendly | Affordable | Easy to Customize |
| ⭐️⭐️⭐️⭐️⭐️ | ⭐️⭐️⭐️⭐️⭐️ | ⭐️⭐️⭐️⭐️⭐️ |
Supplies used in this project:
- Shrinky Dinks
- Alcohol based permanent markers or acrylic paint
- Scissors
- Hole punch
- Jump rings
- Earring findings
Cost ($20.59 / $4.12 per set)
Time to Create: 1 hour
Instructions

The first step of this process is one of the funnest parts, but it’s also the most chaotic and nerve wrecking too. Have you ever handed over permanent markers to a 4 year old? Not intentionally probably, but I say go for it! Because the messy art, the laughs, the oohs and ahhs at all the pretty colors are absolutely worth it! Do yourself a favor and lay down some parchment paper on the table first, that will help if little hands go too wild. 😉

Next, cut out as many pairs of earrings out of the sheet as you would like. I created a handy shrinky dink ruler for myself, so I knew I needed the earrings to start out at 3 inches to be a decent size once they shrunk down.

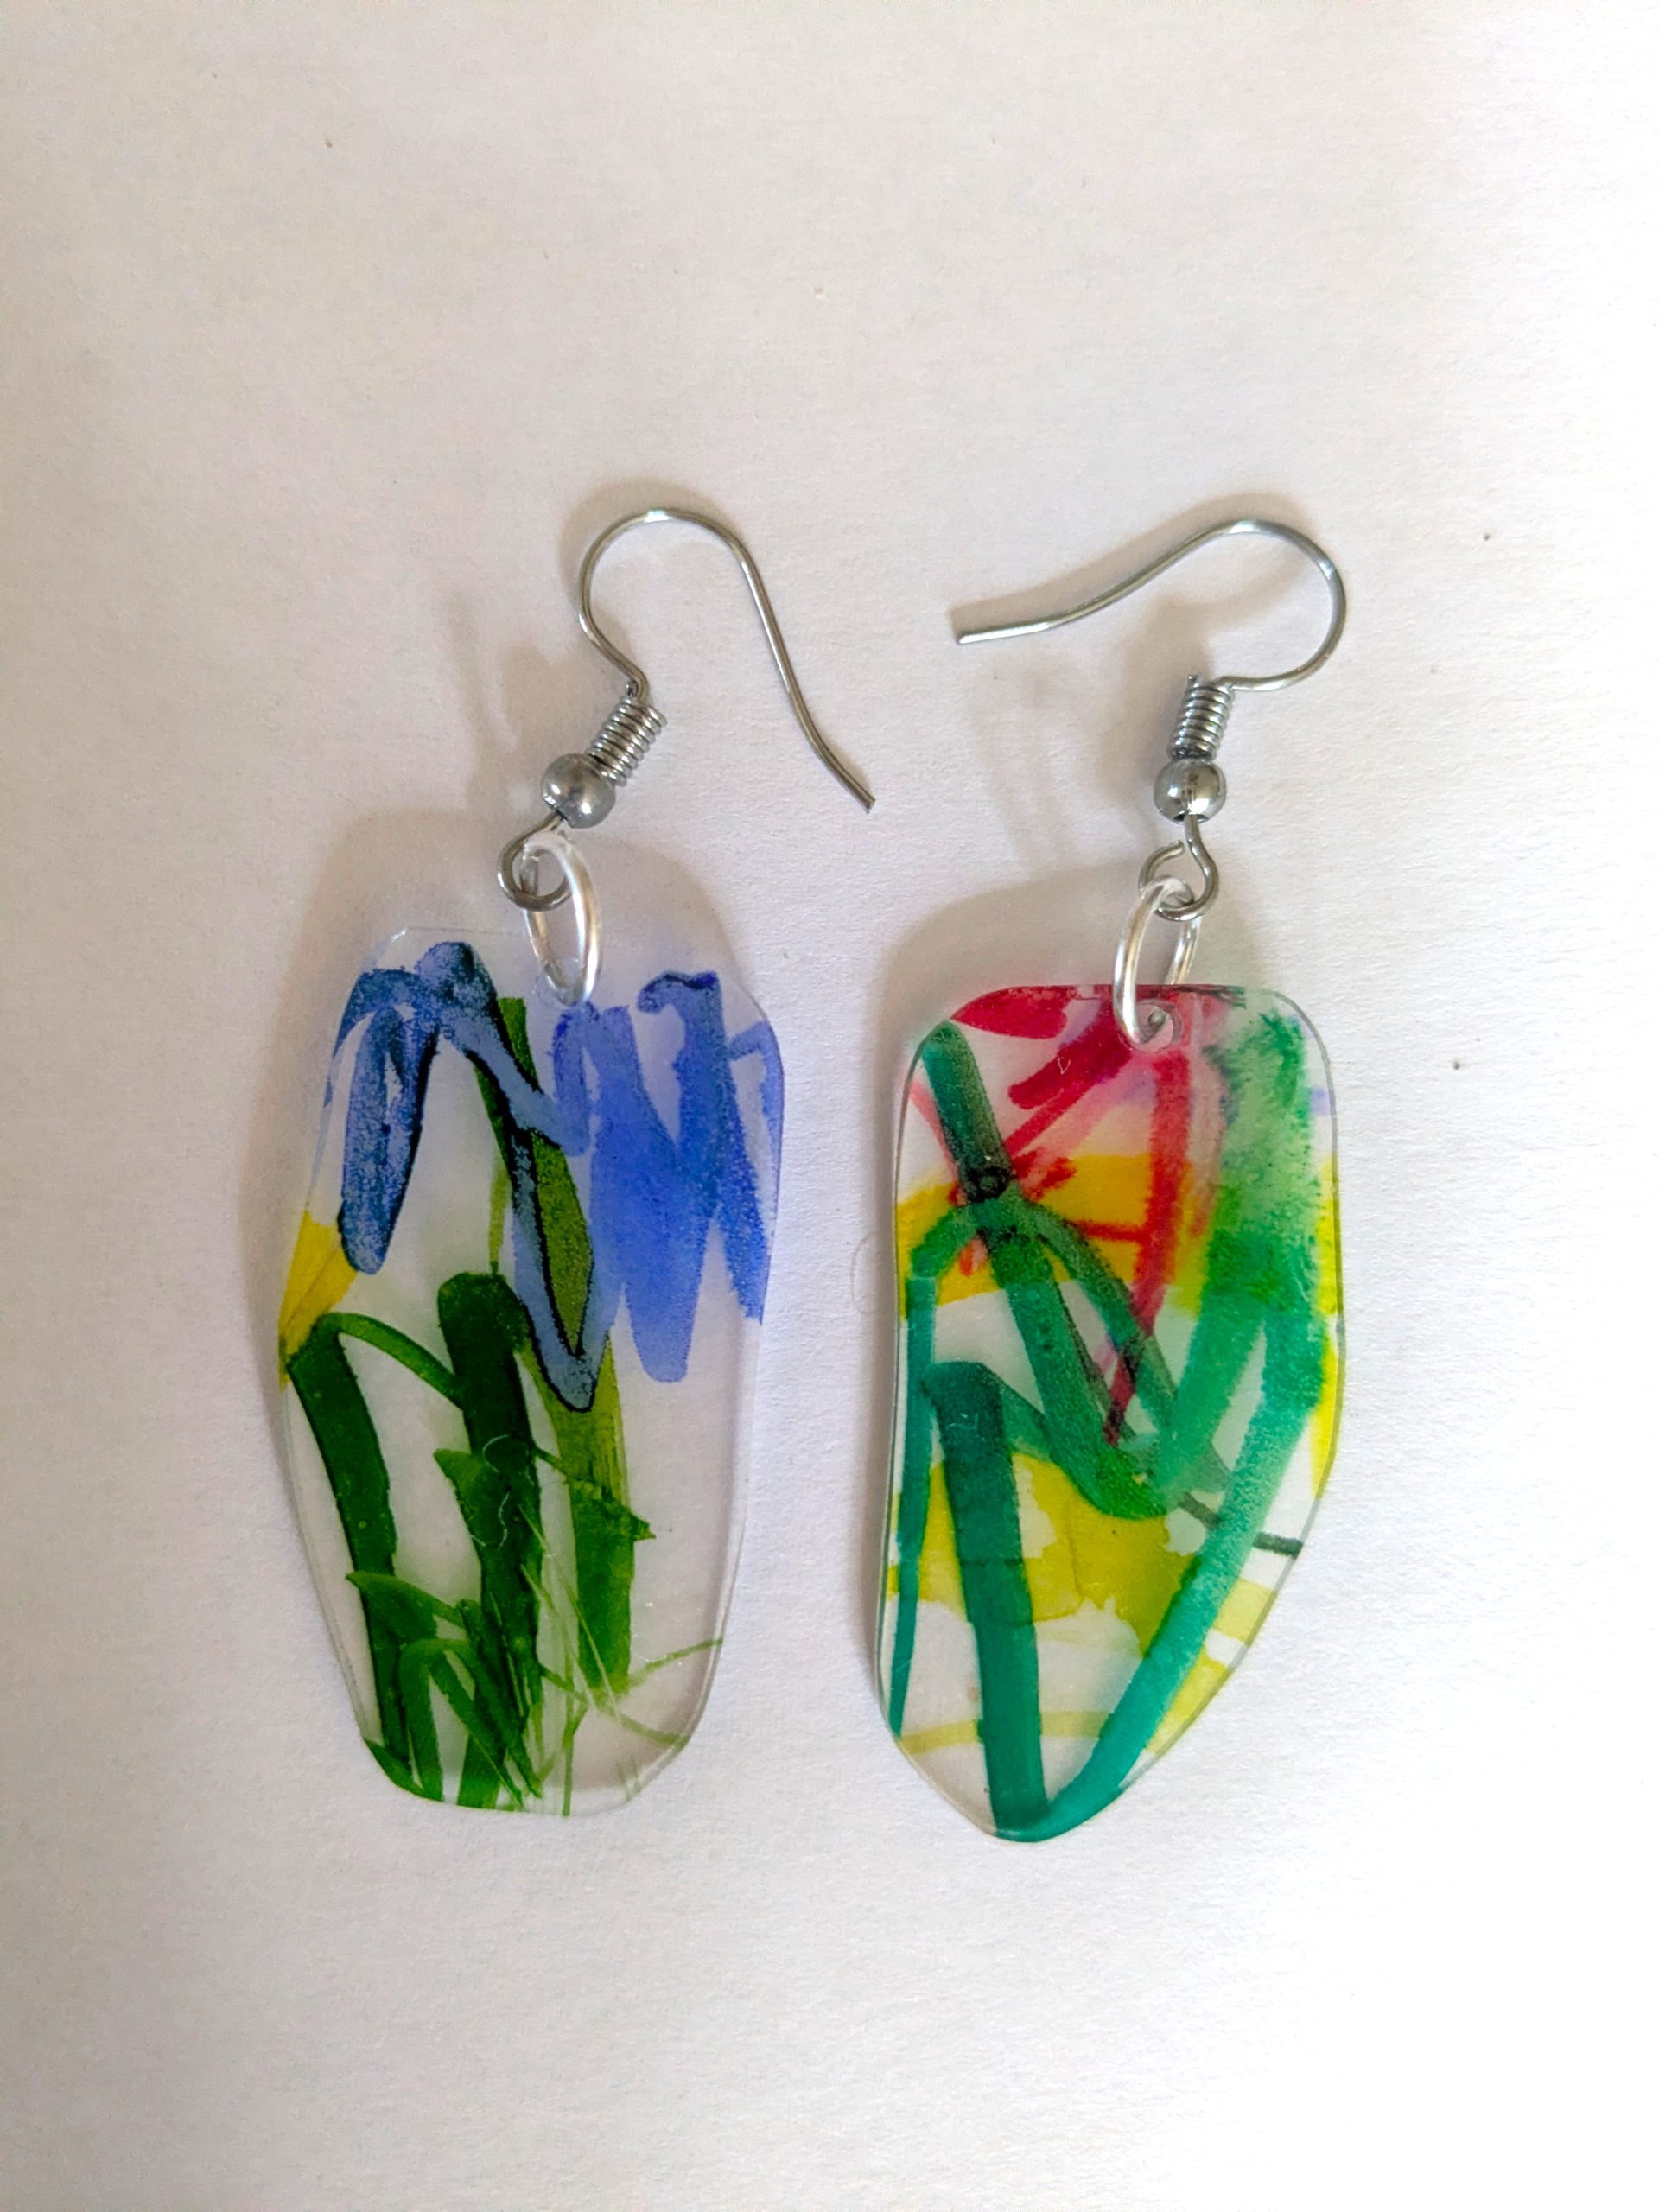
To make the earrings more unique, I followed some of his natural lines to create interesting curves and shapes.

Some of the earrings you can tell were cut from the same section of shrink paper, but in the case of the above pair, they were cut from separate places, but still felt like they belonged together!

The above pair is my absolute favorite, and has become my everyday earrings!

I think I’m going to save this pair for future date nights 😉 They’re so pretty and unique, and the red is a perfect date night color imo!
Once you have all of your shapes cut out and sorted into pairs, punch holes into each! Now, it’s time to bake! Follow the instructions that were given to you with your shrink paper. My shrink paper said 1-3 minutes at 350, but I’ve discovered that if you let them go a little longer, they’ll flatten back out like they’re supposed to.

After they cool, it’s time to assemble into earrings. You will need a jump ring and an earring finding for each one.
Open the jump ring and slide on your charm and the earring finding before closing the ring.

And ta-da! Now you have beautiful, handmade, unique, perfectly sweet keepsake gifts that are sure to wow at the next birthday, mother’s day, or Christmas get together!
Thanks for crafting with me today! I’d love to see how your project turned out, so share a photo in the comments and tell me your favorite part of the process. What would you like to make next? Until next time, friends!





Leave a Reply